An outdoor entertainment center is a great way to entertain friends or relax while watching a game. However, it would help to protect your TV from external threats to ensure it lasts longer. Leaving your outdoor TV exposed makes it susceptible to damage and theft. One major way to avoid this is by building an outdoor TV cabinet. You can have professionals do the job or DIY one for yourself. And to do so, you will need these steps for guidance.
What You Need
Before getting started, you must have the necessary materials and tools ready. They include the following;
- Tape measure
- Level
- Screwdriver or drill gun
- Circular saw
- Half-inch treated plywood
- Pressure-treated 2*6s
- Wood glue
- Galvanized nails
- Gate hinges
- TV mount and hardware
- Coated deck screw
Note: the amount of material you will need depends on the size of your TV. However, the tools can be the same for all tasks, but the steps may vary depending on what you decide to start with.
The Steps
Knowing how to build an outdoor TV cabinet doesn't require professional knowledge. You need the skills to use the tools and know what to do. Before getting into the task, ensure you have safety gear like glasses or gloves to keep you safe.
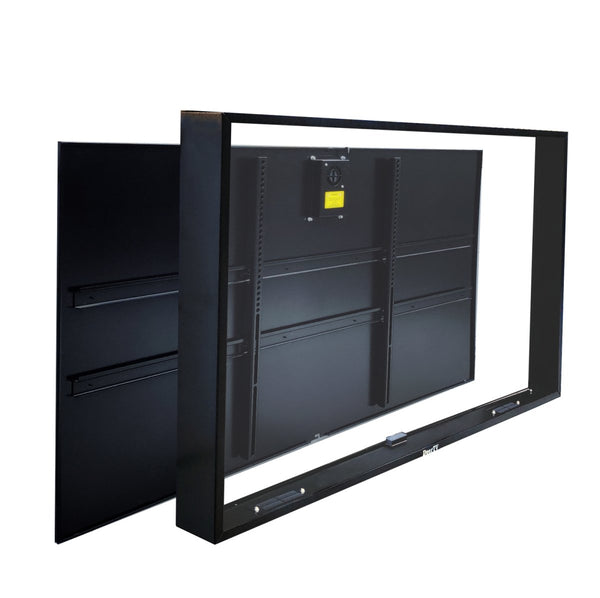
Step 1: Mount The TV On The Wall
Pick a spot you are comfortable with and one where you can view the TV from any angle in the yard. Remember, this will be its permanent spot; moving it will mean taking the cabinet off. Using the TV mount and hardware, mount the TV with the power outlet close and easy to get to. Once the TV is on the wall, now start building the cabinet.
Step 2: Install The Sides
Using the pressure-treated 2*6s, attach them to the wall or fence using the coated deck screws. These will serve as the four sides of the TV cabinet. However, if the TV is deeper, you may need wider materials.
Step 3: Build The Cabinet Doors
If you are mounting the TV on the fence, use the pressure-treated fence boards. This will give it the same pattern as the fence. Let the board overlap by about an inch. Then using the waterproofed wood glue and galvanized nails, secure everything in place.
Step 4: Reinforce The Doors And Add The Hinges
Behind each door, attach a horizontal piece of wood at the top and bottom and a diagonal one running between them. This will give the outdoor TV cabinet extra strength. Next, add the hinges to the doors and the frame. You can use any hinges, but T-hinges will give you extra durability. Then mount the cabinet doors, give it a rough sanding and add a bolt at the middle or the bottom of the doors. Finally, using a padlock, you can lock the cabinet when not in use.
Step 5: Add Water Resistance
Now that everything is complete and up, it's time to make the TV cabinet waterproof to last longer. Next, add a peel-and-stick roofing starter strip on top of the cabinet. Finally, regardless of the design, you went for; you can use water-resistant paint to finalize the whole process.
Now you know how to build an outdoor TV cabinet, it's time to get started and protect your outdoor TV. There are several reasons why building an outdoor TV cabinet yourself is better than calling professionals. First, you get to save on money but also play around with the design to get what suits and satisfies your desire more.